The Importance of Installing an EV Charger at Home
Having a dedicated EV charger at your residential property is crucial for several reasons:
- Convenience: Charging your vehicle at home eliminates the need to visit public charging stations, saving time and effort.
- Cost-Effectiveness: Home charging can be significantly cheaper than using public chargers, especially if you charge during off-peak hours.
- Increased Property Value: A home equipped with an EV charger can attract potential buyers, adding to your property’s value.
- Environmental Benefits: Charging at home allows you to utilize renewable energy sources, further reducing your carbon footprint.
Choosing the Right EV Charger for Your Home
Before diving into the installation process, it’s essential to select the appropriate EV charger for your needs. Here are some key factors to consider:
1. Charger Types
There are primarily three types of EV chargers:
- Level 1 Chargers: Use a standard 120V outlet, providing about 4-5 miles of range per hour. Ideal for overnight charging.
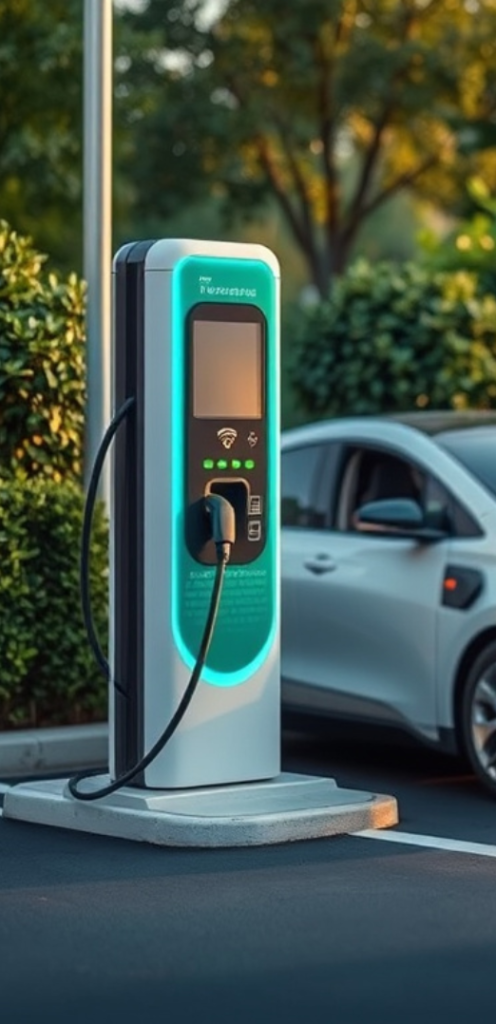
- Level 2 Chargers: Require a 240V outlet, offering about 25 miles of range per hour. Best suited for home installations.
- DC Fast Chargers: Provide rapid charging but are typically used in commercial settings due to their high cost and power requirements.
2. Charger Compatibility
Ensure the charger is compatible with your specific EV model. Most EVs use either a Type 1 (SAE J1772) or Type 2 connector, so check your vehicle’s specifications.
3. Smart Features
Consider chargers with smart features, such as app connectivity, scheduling, and energy monitoring, which can enhance your charging experience.
Step-by-Step Guide to Installing an EV Charger
Now that you have chosen the right charger, follow these detailed steps for installation:
Step 1: Assess Your Electrical System
Before installation, evaluate your home’s electrical capacity. A Level 2 charger requires a dedicated circuit and may need an upgrade to your electrical panel if it cannot support the additional load. Consult with a licensed electrician to determine your system’s capabilities.
Step 2: Obtain Necessary Permits
Check local regulations regarding EV charger installations. Many areas require permits for electrical work. Your electrician can assist with this process, ensuring compliance with local codes.
Step 3: Choose the Installation Location
Select a suitable location for your charger, ideally close to where you park your EV. Ensure the area is accessible and free from obstructions. Consider proximity to your electrical panel to minimize wiring costs.
Step 4: Install the Charging Station
Once you have your permits and location, it’s time for installation:
- Turn Off Power: Safety first! Ensure that the power to the circuit is turned off before starting the installation.
- Mount the Charger: Follow the manufacturer’s instructions to securely mount the charger on the wall.
- Connect Wiring: Connect the charger to the dedicated circuit, ensuring that all connections are secure and meet electrical codes. This is a critical step best handled by a professional electrician.
- Turn On Power: Once the wiring is complete, turn the power back on to test the charger.
- Test the Charger: Plug in your EV to ensure that the charger functions correctly. Check for any error messages or issues.
Step 5: Finalize and Monitor
After successful installation, monitor the charger’s performance over the next few weeks. Most smart chargers come with apps that allow you to track charging habits and energy usage.
Benefits of Professional Installation
While DIY installation may seem appealing, hiring a professional for your EV charger installation has several advantages:
- Expertise: Professionals have the knowledge and experience to handle complex electrical work safely.
- Compliance: Ensures that your installation meets local building codes and safety regulations.
- Warranty Protection: Many manufacturers require professional installation to maintain warranty coverage.
Common Mistakes to Avoid When Installing an EV Charger
To ensure a smooth installation process, be mindful of these common mistakes:
- Ignoring Electrical Capacity: Failing to assess your home’s electrical capacity can lead to overloads and safety hazards.
- Choosing the Wrong Charger: Selecting a charger that is incompatible with your vehicle or insufficient for your charging needs can lead to frustration.
- Neglecting Permits: Skipping the permit process can result in fines and complications during future home inspections.
- DIY Without Expertise: Attempting to install the charger without proper electrical knowledge can pose safety risks.
Tips for a Successful EV Charger Installation
To maximize your installation experience, consider the following tips:
- Plan for future needs. If you anticipate acquiring more EVs, consider installing a charger with higher capacity.
- Utilize existing infrastructure. If your garage has a 240V outlet, it may simplify installation.
- Consult with neighbors or local EV owners for recommendations on reliable contractors.
- Stay informed about local incentives or rebates for EV charger installation.
Conclusion
Installing an EV charger at your residential property not only enhances your driving experience but also contributes to a sustainable future. By following the outlined step-by-step guide, understanding the benefits, and avoiding common pitfalls, you can ensure a successful installation. Whether you choose to DIY or hire a professional, the right preparation and knowledge will lead to a seamless experience. Start charging at home today, and enjoy the convenience of having your EV ready whenever you need it.
Frequently Asked Questions (FAQ)
1. How much does it cost to install an EV charger at home?
The cost of installation can range from $500 to $2,500, depending on the charger type and any necessary electrical upgrades.
2. Can I install an EV charger myself?
While some may attempt a DIY installation, it is highly recommended to hire a licensed electrician to ensure safety and compliance with local codes.
3. What permits do I need for installing an EV charger?
Most localities require permits for electrical installations. Consult with your electrician to ensure compliance with local regulations.
4. How long does the installation process take?
Typically, the installation can be completed within a few hours to a day, depending on the complexity of the setup and any required electrical upgrades.
5. What type of EV charger is best for home use?
A Level 2 charger is generally recommended for home use, as it provides faster charging times compared to a standard Level 1 charger.